Skynet includes a user-friendly, web-based installation wizard that automates environment verification, directory permission checks, license activation, database table creation, and initial administrator setup in a few simple steps.
Step-by-Step Installation Process
Step 1: Upload & Extract Files
- After purchasing and downloading Skynet from CodeCanyon or GeniusDevs.com, extract the main downloaded zip package on your computer.
- Inside the extracted package, you will find the
installable.zipfile (this is the core application archive you need to upload). - Upload
installable.zipto your target web directory:- Production Server (cPanel / Plesk): Upload
installable.ziptopublic_htmlor your domain's document root directory. - Localhost Environment: Place
installable.zipinto your local server web directory (e.g.,www/for Laragon/Herd orhtdocs/for XAMPP).
- Production Server (cPanel / Plesk): Upload
- Extract
installable.zipcompletely directly inside that directory. - Open your web browser and navigate to your website's URL (e.g.,
https://yourdomain.comorhttp://localhost/skynet). - You will automatically be redirected to the web installer Welcome screen (
/install).
Step 2: Welcome & Requirements Verification
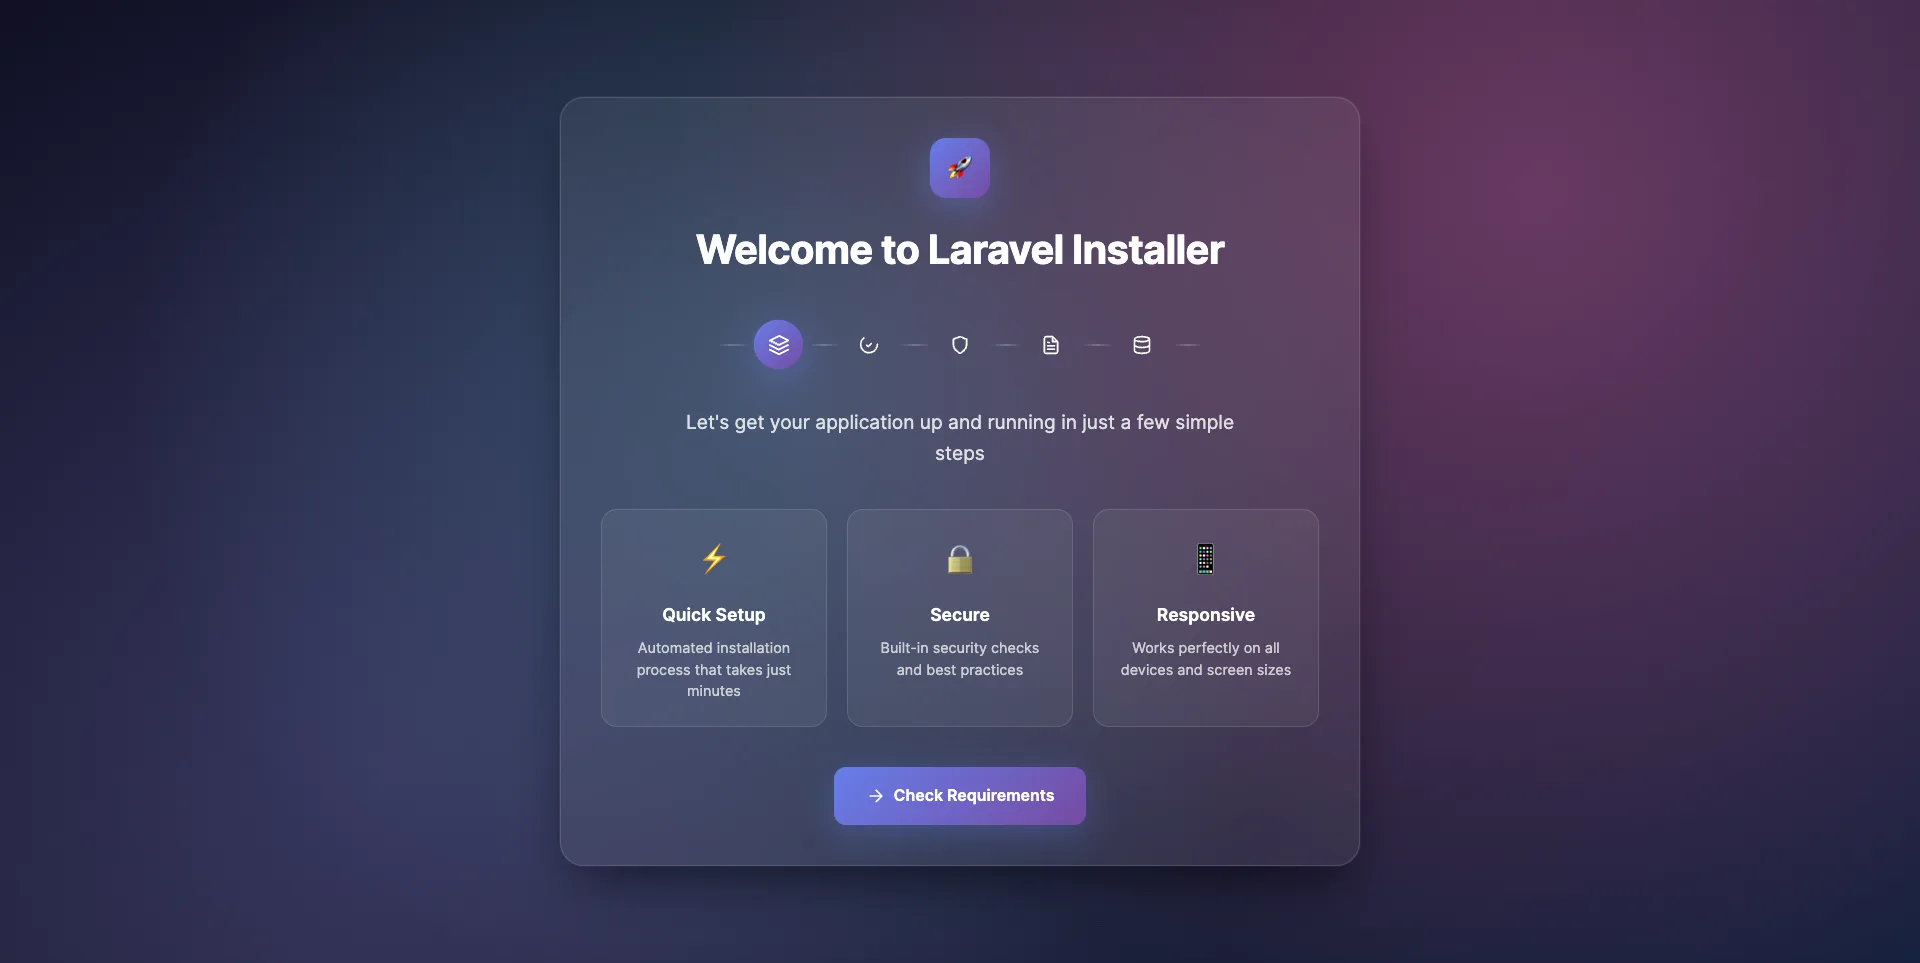
- On the Welcome screen of the installation wizard, click Check Requirements.
- The installer will automatically verify your server against all required PHP versions and required PHP extensions.
- Confirm that each requirement displays a green checkmark.
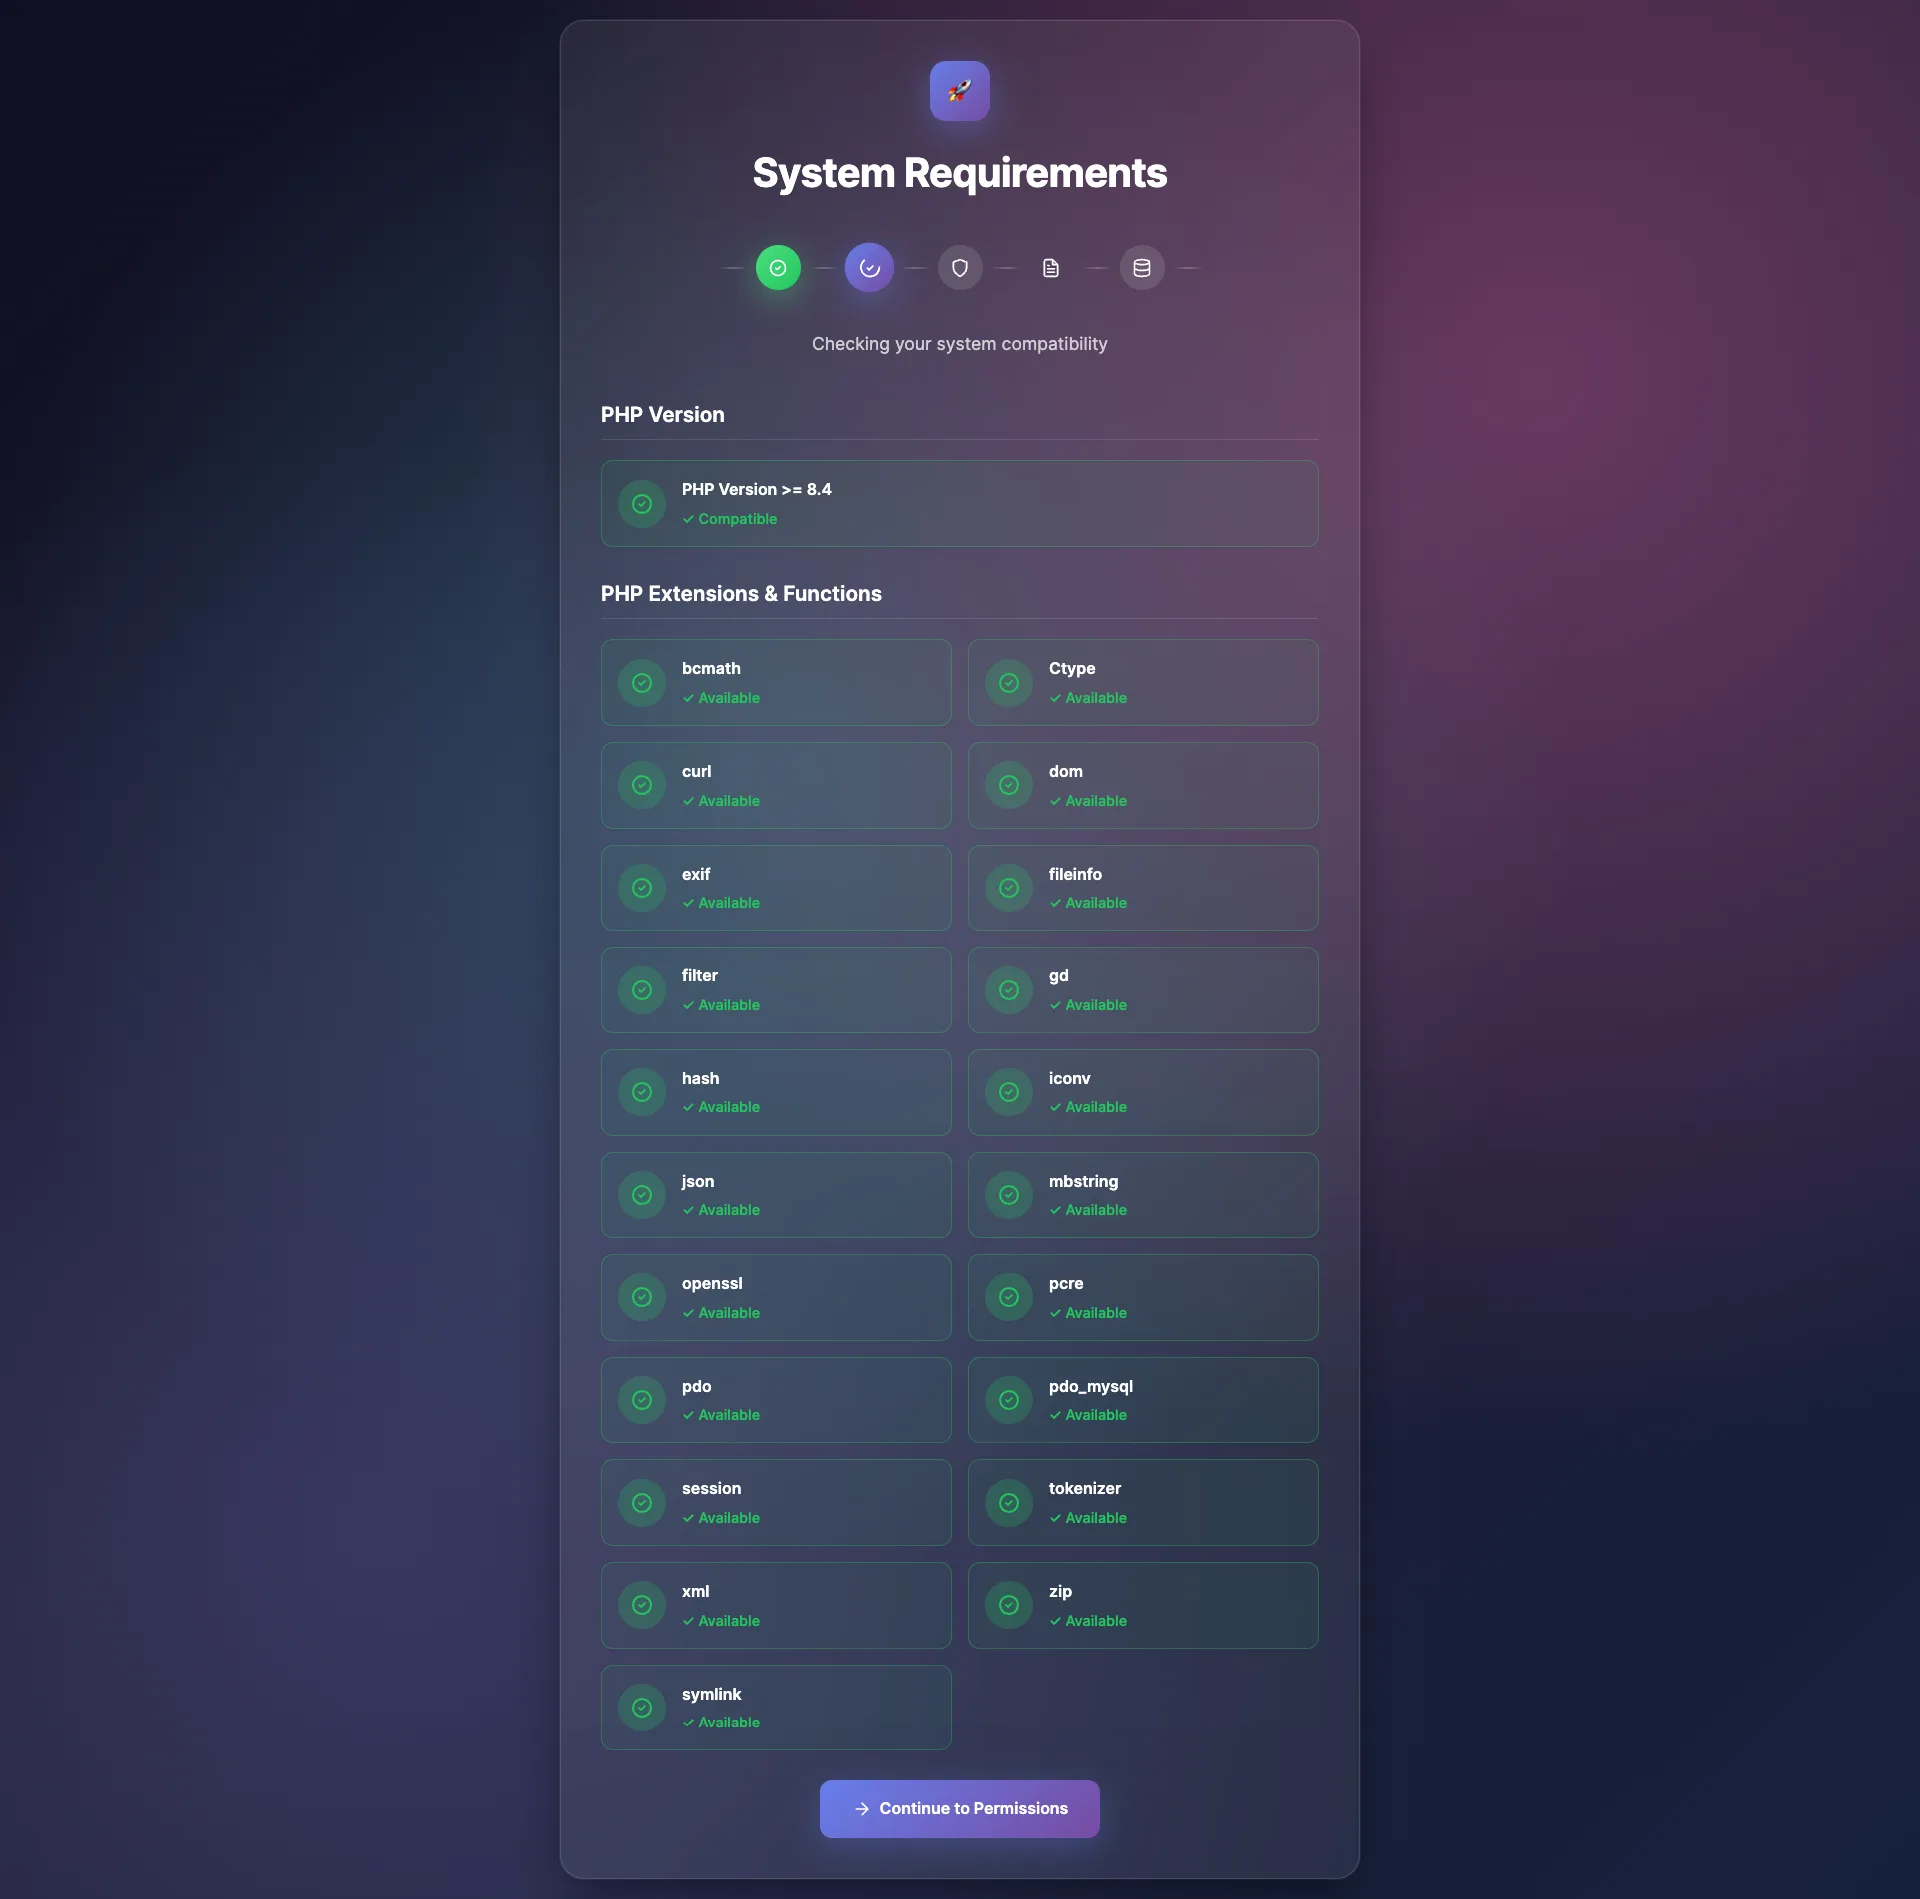
- Once all server requirements are verified, click Continue to Permissions.
Step 3: Directory Permissions Verification
- The installer will inspect write access for critical storage and cache directories:
storage/app/storage/framework/storage/logs/bootstrap/cache/
- Ensure all listed directories show a green Writable status.
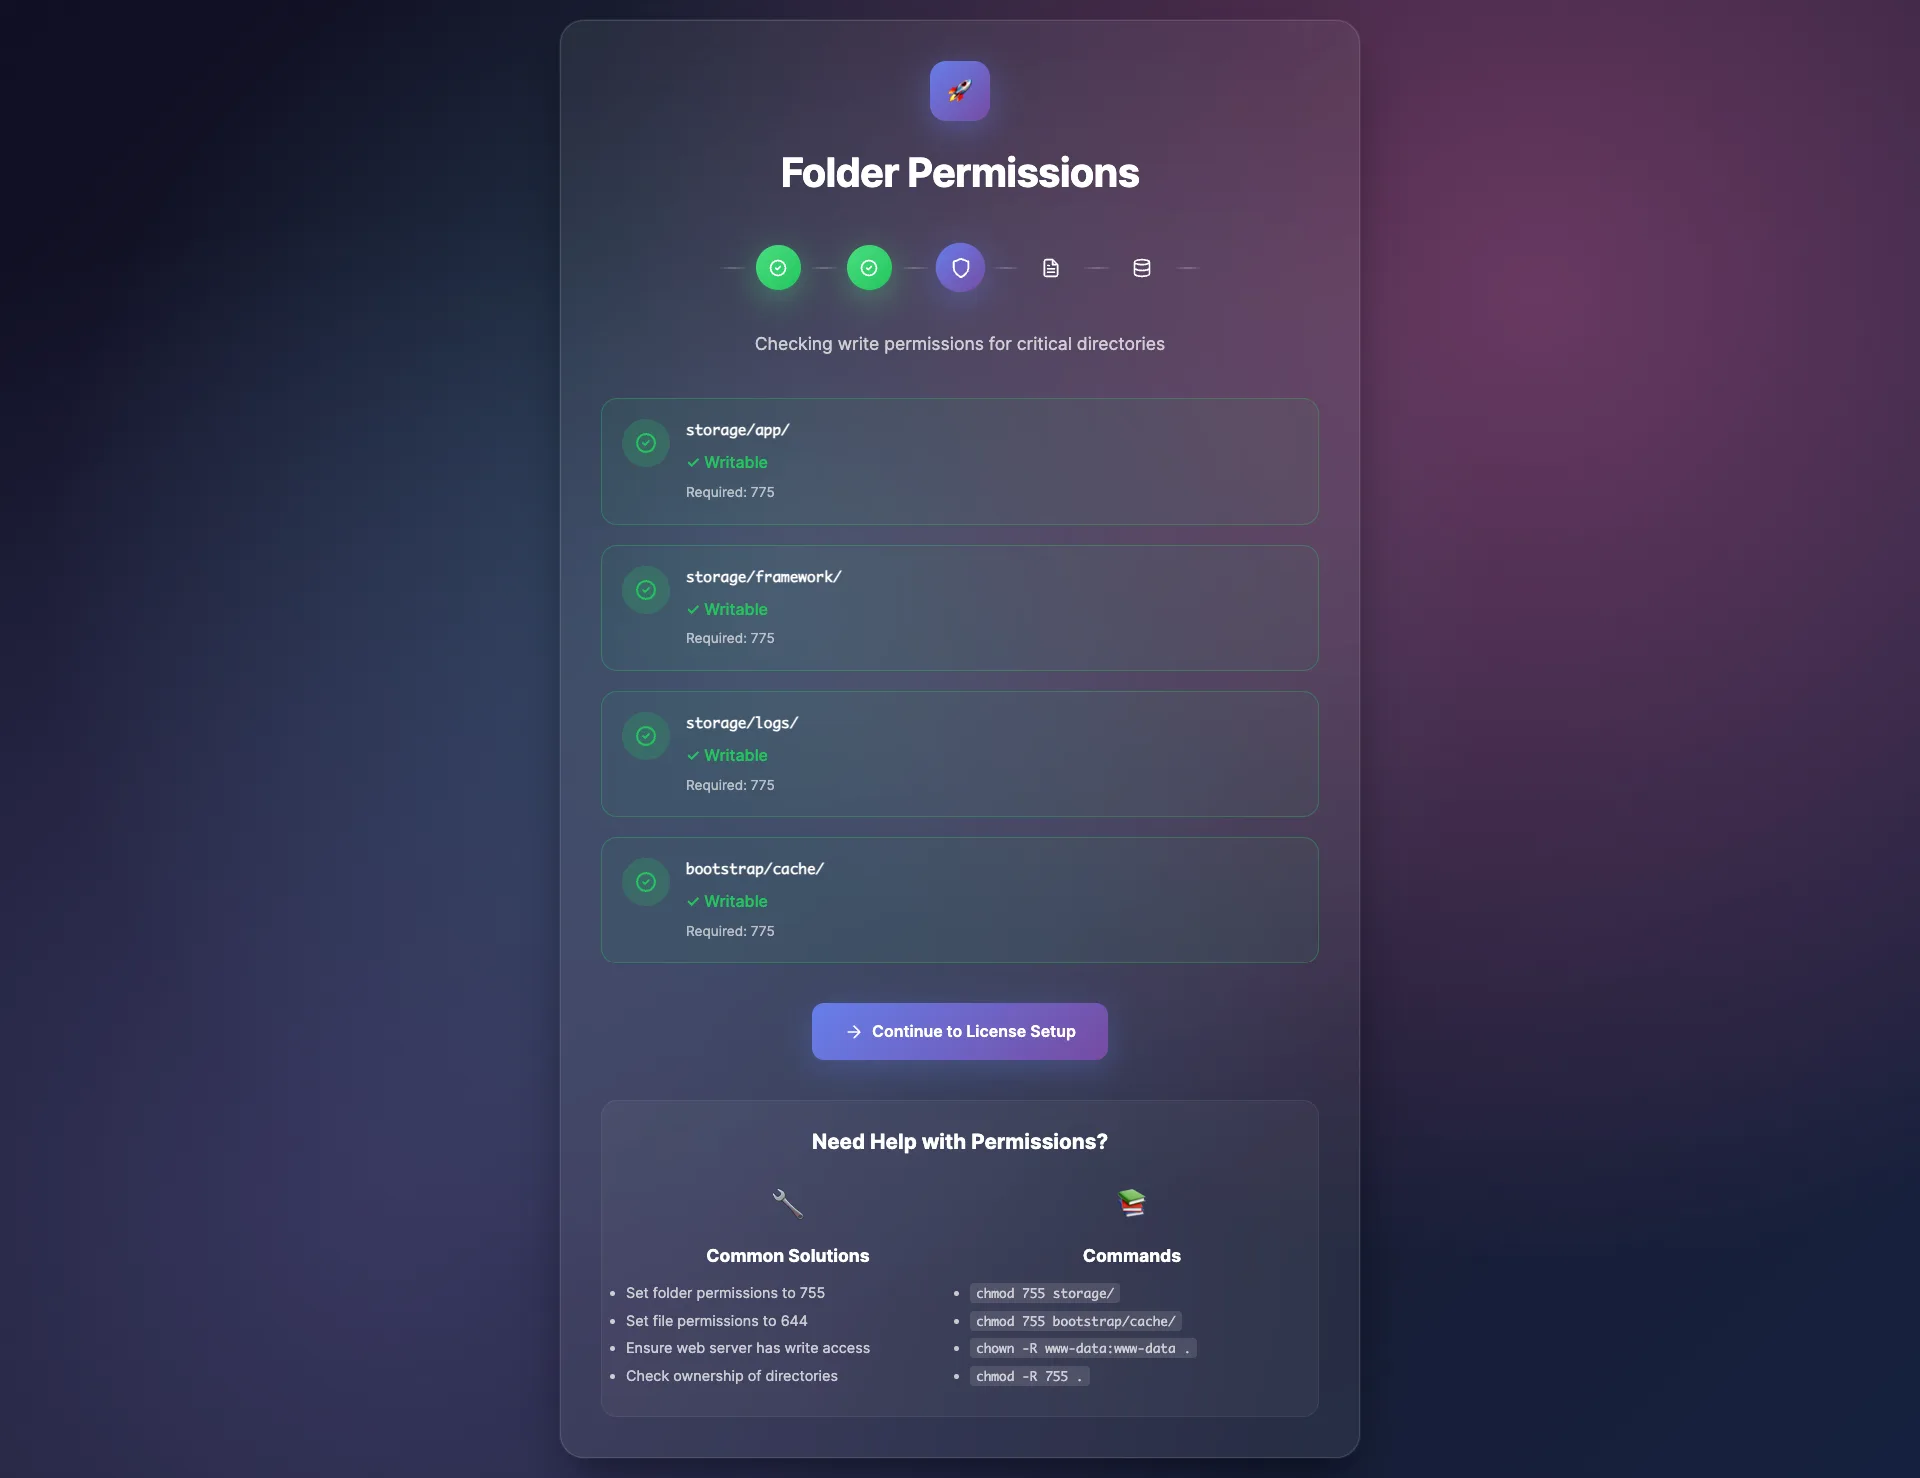
- Once permissions are validated, click Continue to License Setup.
Step 4: License Verification
Verify your product purchase license to activate your Skynet installation:
- Where did you purchase this item?: Select your purchase source:
- GeniusDevs (geniusdevs.com): For direct purchases on the GeniusDevs customer portal.
- Envato Market (ThemeForest / CodeCanyon): For CodeCanyon purchases.
- Email Address: Enter your account email address associated with your purchase.
- Envato Username: Enter your Envato username (required if Envato Market was selected).
- License Key / Purchase Code: Enter your unique license key or Envato item purchase code.
- Active Internet Connection: Ensure your web server has an active internet connection to communicate with the GeniusDevs central verification server (
https://app.geniusdevs.com).
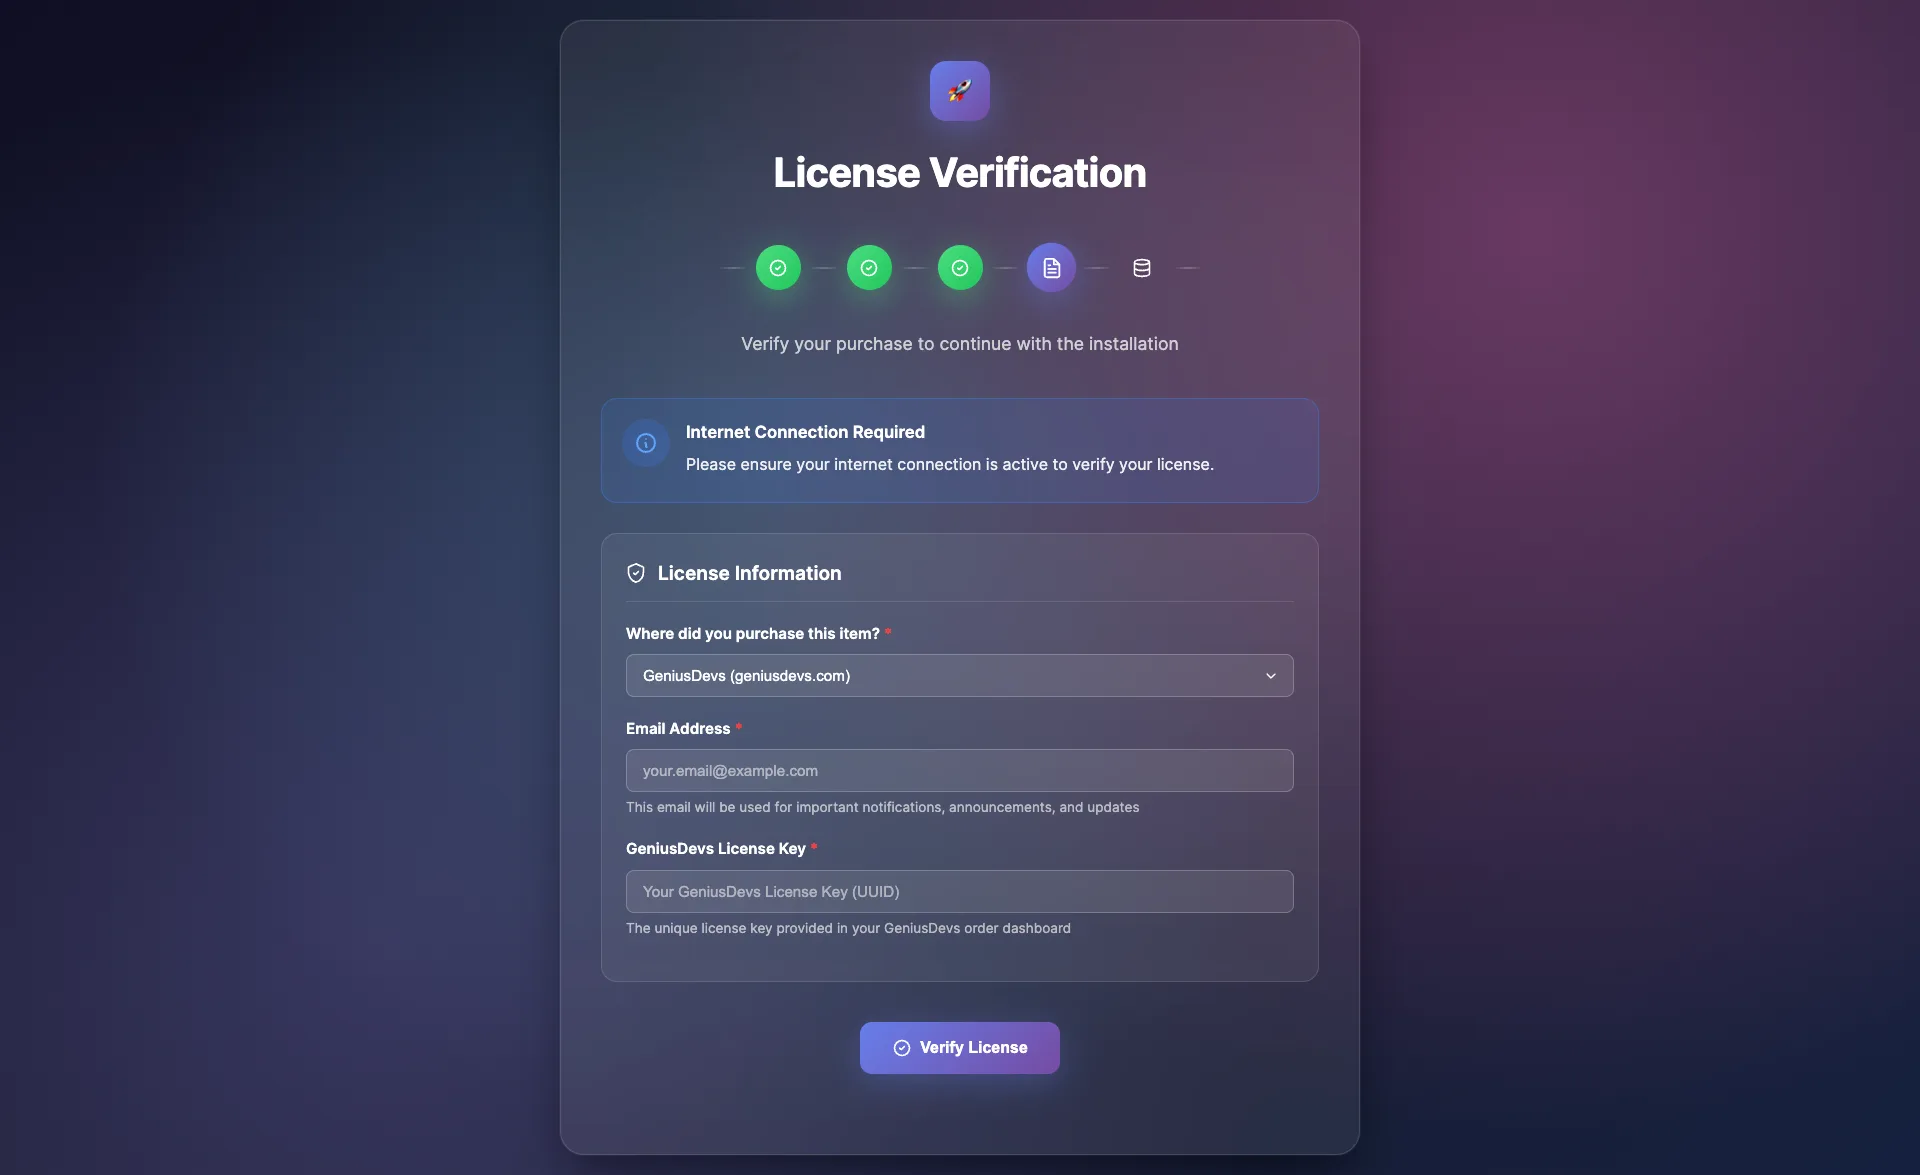
- Click Verify License.
Important: GeniusDevs licenses follow a single-domain policy. Each purchase code is valid for one live domain installation only. If you need to transfer your license to a new domain, contact customer support for authorization.
- Upon successful verification, the installer creates the verification token (
storage/verified), executesstorage:linkautomatically, and advances to Step 5: Environment Setup & Database Installation.
Step 5: Environment Setup & Database Installation
Configure your application parameters, MySQL database connection, and custom administrator login credentials:
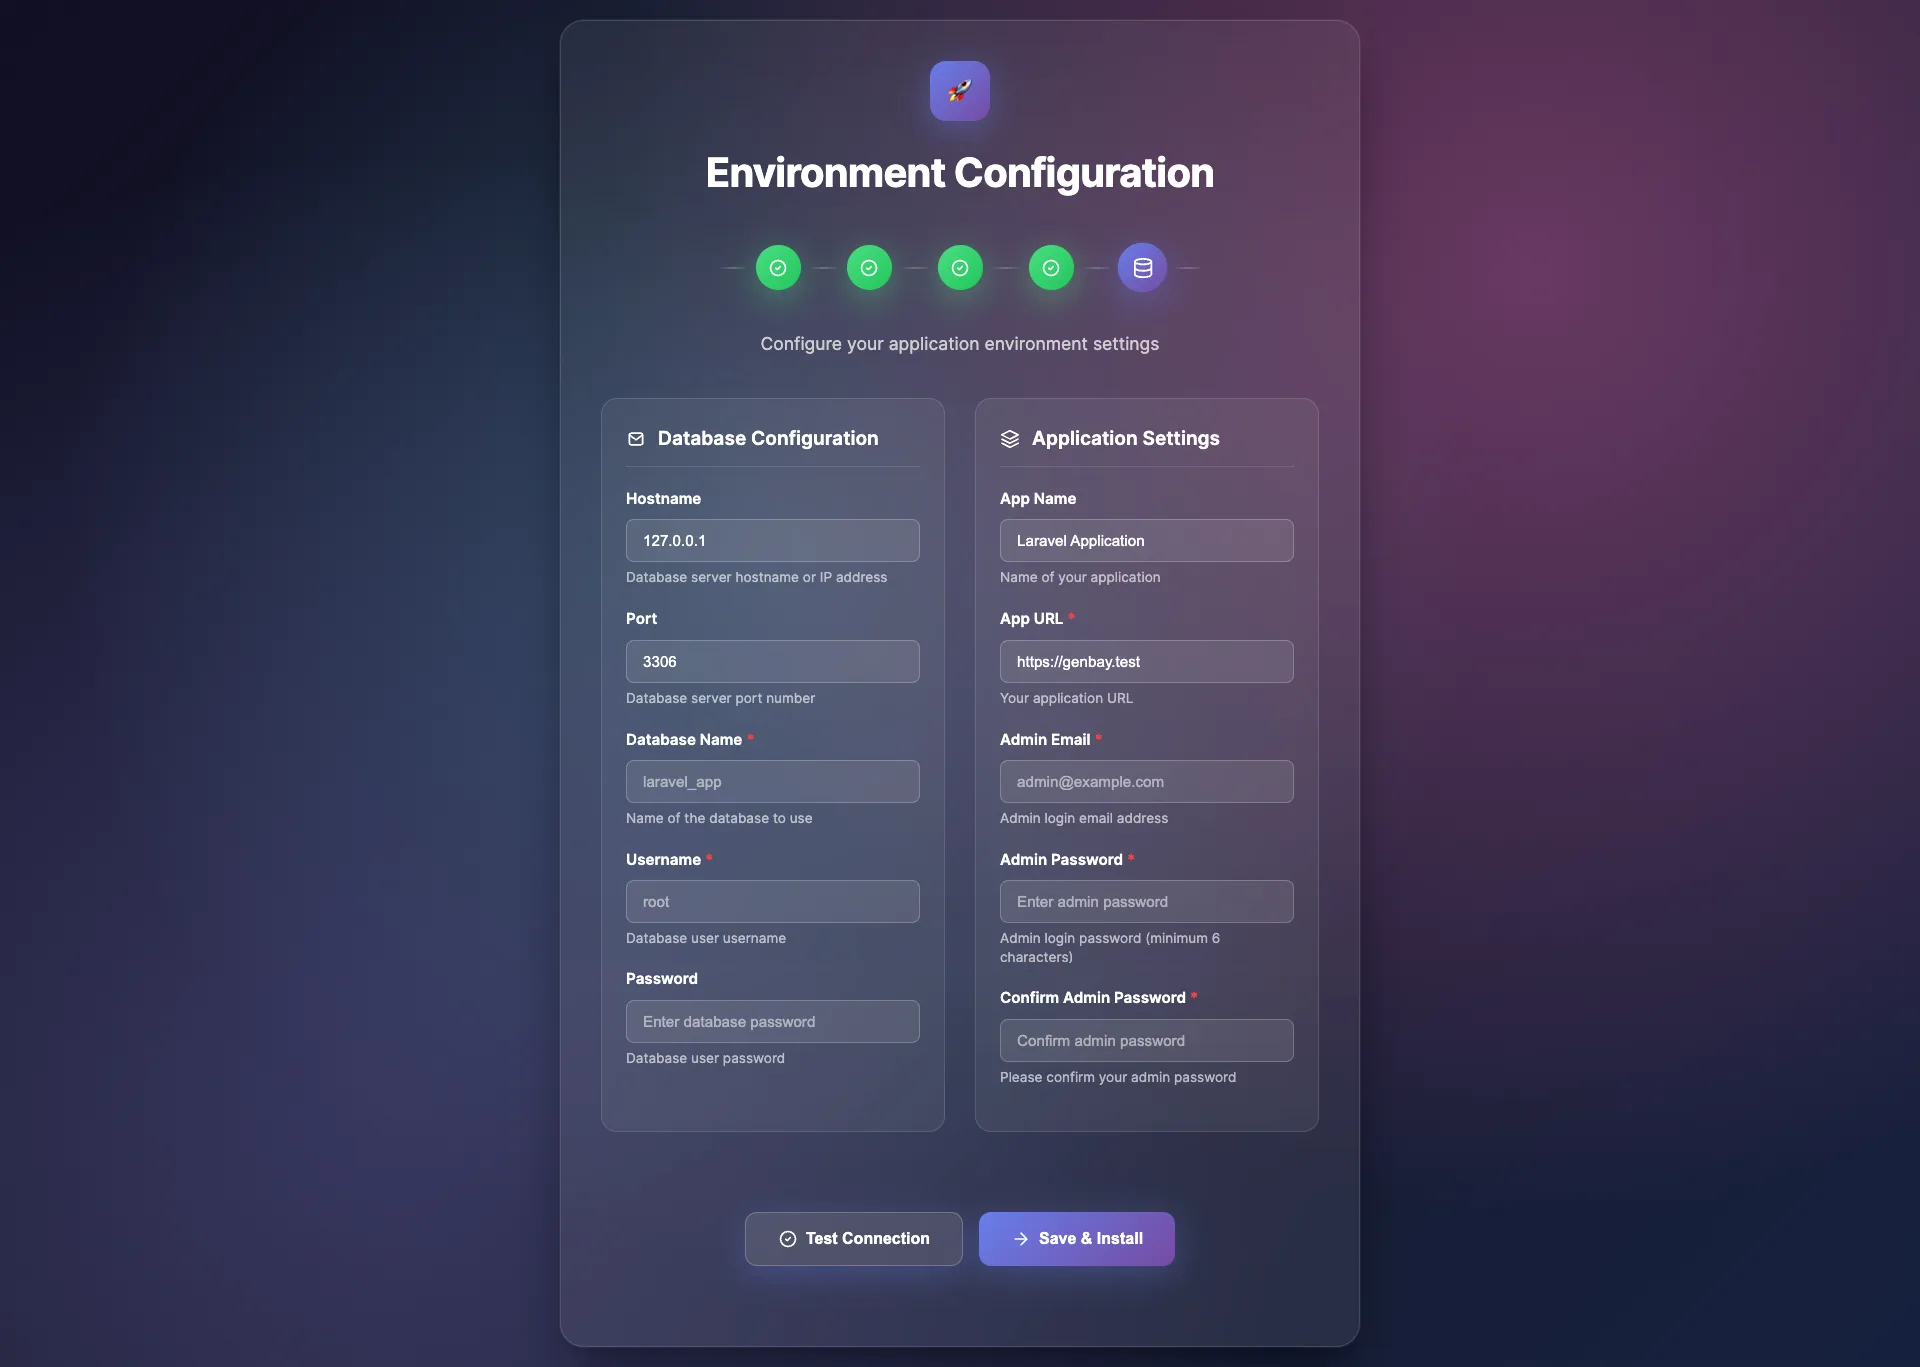
- Application Settings:
- App Name: Enter your website or company title (e.g.,
Skynet CMSorAcme Consulting). - App URL: Enter your full domain URL including protocol (e.g.,
https://yourdomain.com).
- App Name: Enter your website or company title (e.g.,
- Database Connection:
- Database Host: Usually
127.0.0.1orlocalhost. - Database Port: Standard MySQL port
3306. - Database Name: The name of your newly created, empty MySQL database.
- Database Username: Your database username (e.g.,
rooton localhost or your cPanel DB user). - Database Password: Password for the database user.
- Database Host: Usually
- Administrator Setup:
- Admin Email: Enter your desired administrator email address (required).
- Admin Password: Enter your custom administrator password (minimum 6 characters).
- Confirm Password: Re-enter the administrator password to confirm.
- Click Test Database Connection to confirm connectivity via real-time AJAX check.
- Once the test succeeds, click Save & Install. The installer will write your
.envfile, run database migrations, seed default themes, sections, and settings, create your Super Admin account in theadminstable, generate the installation lock file, and finalize setup.
Step 6: Setup Complete & Admin Panel Access
Upon successful completion, you will see the installation finished confirmation screen:

Click the Admin Dashboard button to navigate directly to your backend login screen (/admin).
Superadmin Login Credentials:
- Login URL:
https://yourdomain.com/admin- Email: The custom administrator email configured during Step 5.
- Password: The custom administrator password configured during Step 5.